Today, I want to cover an exercise that I don’t see being done very often: the split squat.
I want to highlight some benefits of this exercise as well as some common mistakes I see when taking a client through it for the first time. So let’s jump right in!
First things first, what is a split squat?
Put simply, it’s a stationary lunge.
Here’s how it’s done:
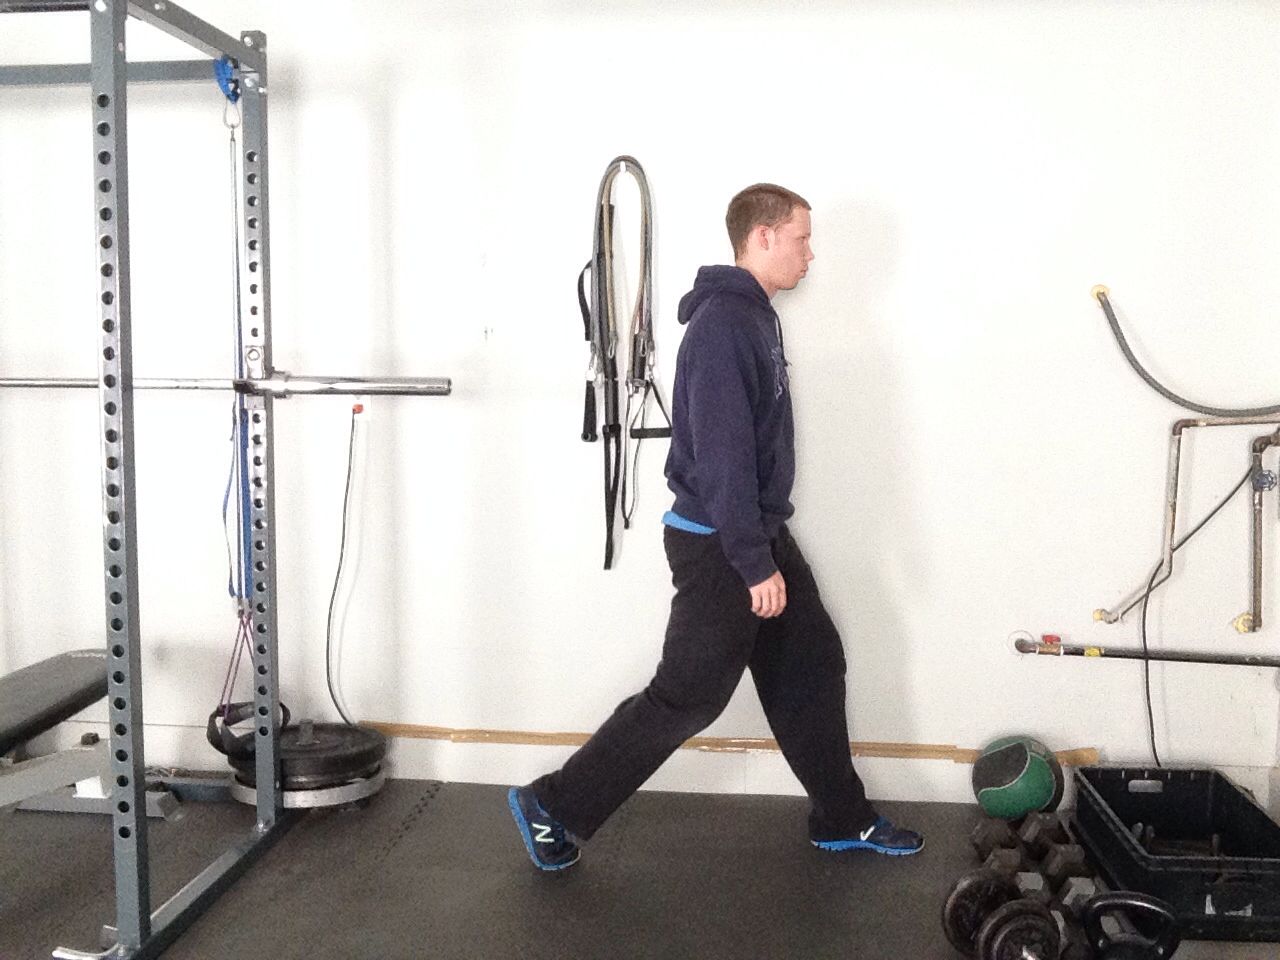
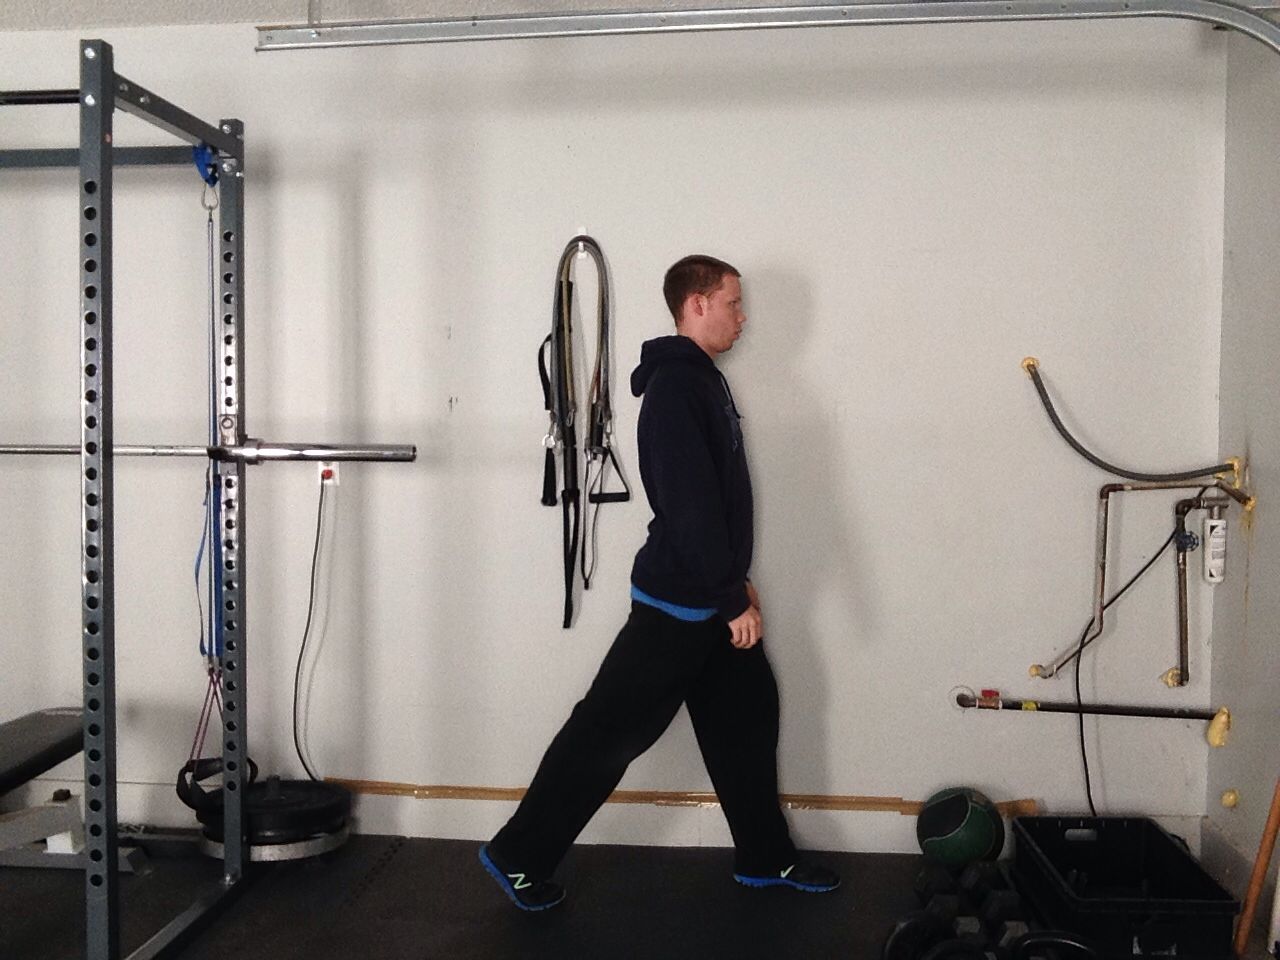
1. You begin in a split stance position.
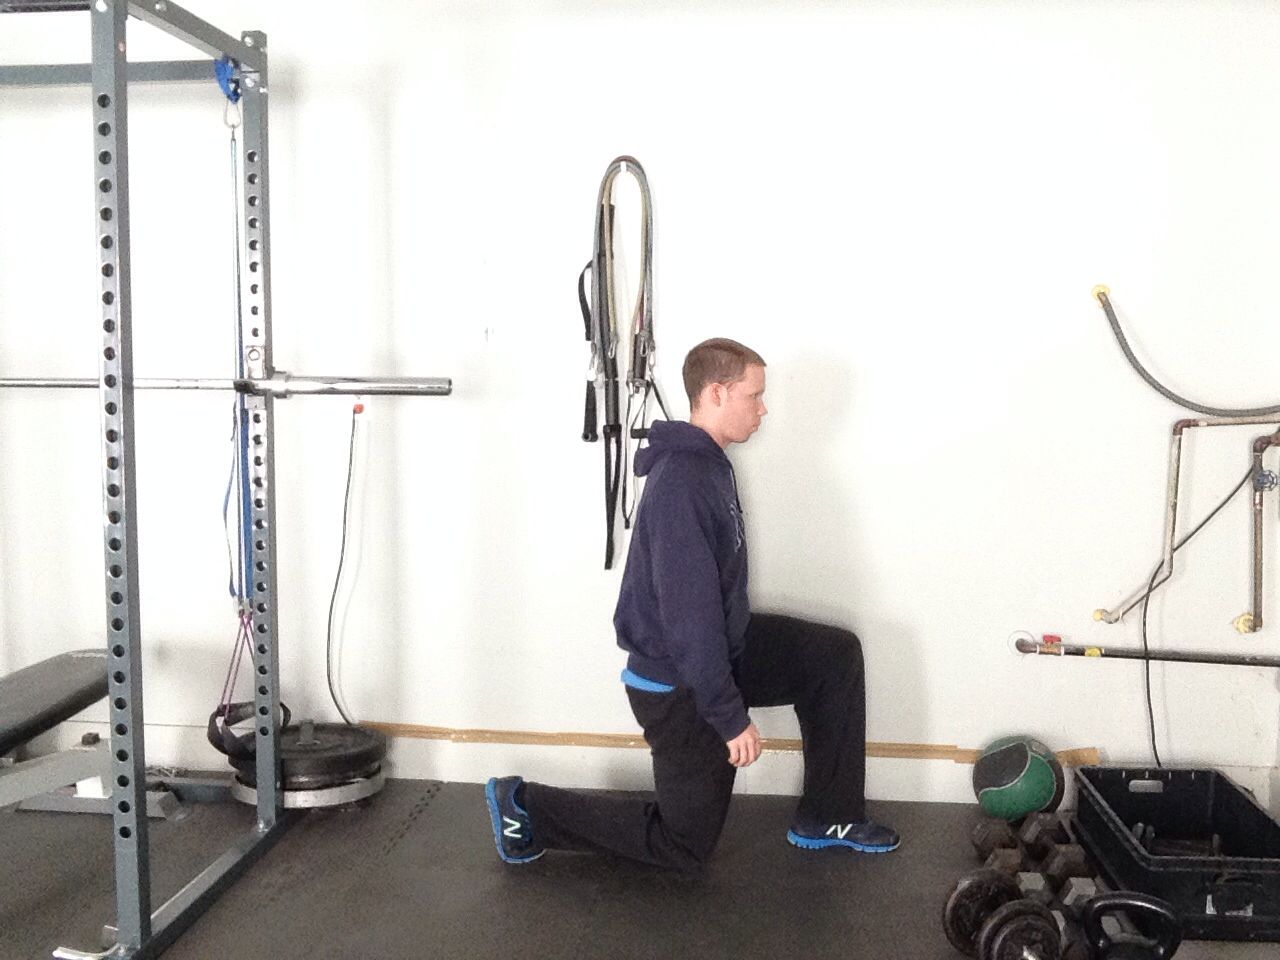
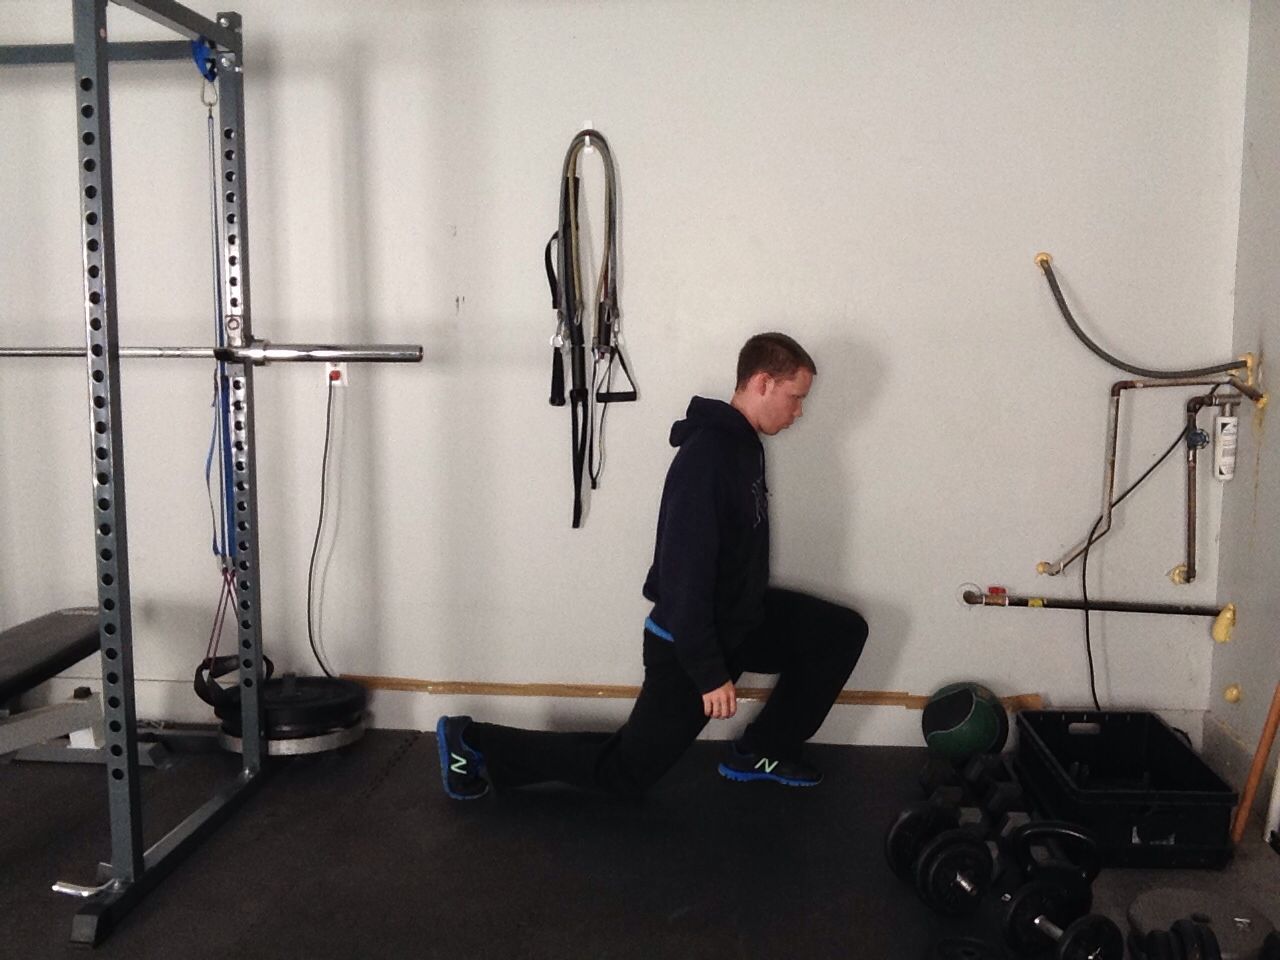
2. You then initiate the movement by taking the back knee to the ground. At the bottom position, both knees should be around 90 degrees.
3. Use both legs to push and return back to the starting position.
This exercise is great because it targets the quadriceps, glutes, and hamstrings all in one movement. We know that the best exercises for fat loss are the ones that activate a lot of muscle mass. The split squat does just that, which is why it should be performed more often.
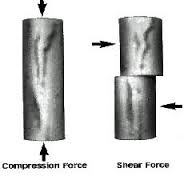
It is also great for those suffering from knee pain. The farther your knee moves forward, the more shear force you experience.
In the picture above, think of the top object as the femur (thigh bone) and the bottom as the tibia (shin bone). As the knees travels forward, these two move away from each other. For some, this can cause pain.
In the split squat, as long as you keep that 90 degree knee position, pain usually isn’t an issue.
Another benefit is the ability to perform it anywhere. It doesn’t have to be done solely at the gym. Got some free time at home? Bust out a few sets and you will feel winded in no time!
As with any exercise though, there are a few mistakes you can make when performing the split squat. Here are the three most common.
1. Not maintaining the correct knee position at the bottom.
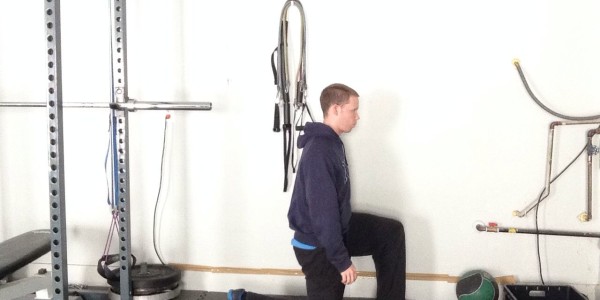
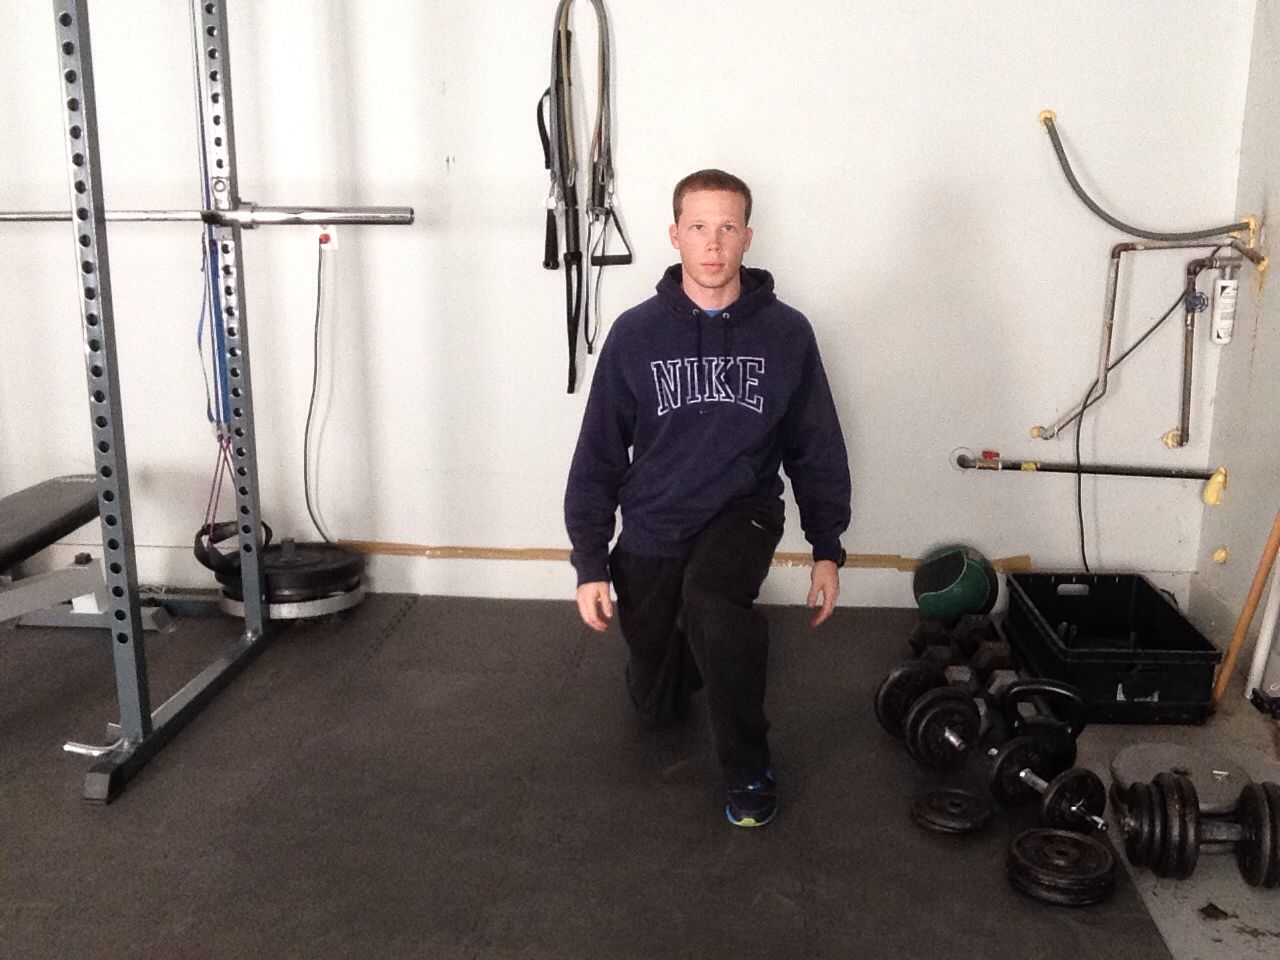
If you look at my left knee, you can see it’s caving inward. This places a great amount of stress at the inside of the knee.
The goal is to keep the knee in line with the toes. If I were to draw a line from my knee to top of my shoe it should be straight instead of slanted.
2. Allowing the back to go into hyperextension.
When returning back to the start, some try to straighten the back leg all the way. This in turn causes the back to arch excessively.
As I have mentioned in past articles, hyperextension of the low back creates a lot of tension in the surrounding muscles. This can causes feelings of pain and tightness. If you perform the split squat in this position, you are reinforcing that pattern.
Try keeping the back knee slightly bent, and even focus on squeezing the glutes on the trailing leg. This will ensure the low back stays in the correct position.
3. Leading with the front knee.
This places all the work on the front leg. It also allows the head of the femur to travel forward in the hip socket, which can cause some irritation if done repeatedly.
Like I mentioned above, you are looking for that 90 degree knee position. The easiest way to achieve this is to lead with the back knee.
Think about dropping the back knee to the ground with each rep. This will spread the work load out among both legs while keeping the knees in a pain free position.
*****
The split squat is very joint friendly exercise, that can be done almost anywhere. If your goal is fat loss or weight loss make sure you are including it in your workouts. Use this as your guide to ensure you are performing them correctly!

